We are using the free software Weblate to translate Diyseeds. We did install Weblate on our own server. To get more information about how to use Weblate, you can read the documentation here. Below, we provide a quick help to get you started using the platform. Please read our translation guidelines prior to do the job. Thank you!
Weblate make things easier to translate an entire project. It will provide you all the texts to translate (called „strings“) in a clean interface so you can translate easy and fast. Weblate is organized into „projects“ that contain „components“. When you click the „save“ button it will lead you to the next string to translate and so on. Feel free to use the „Zen“ mode to translate even faster!
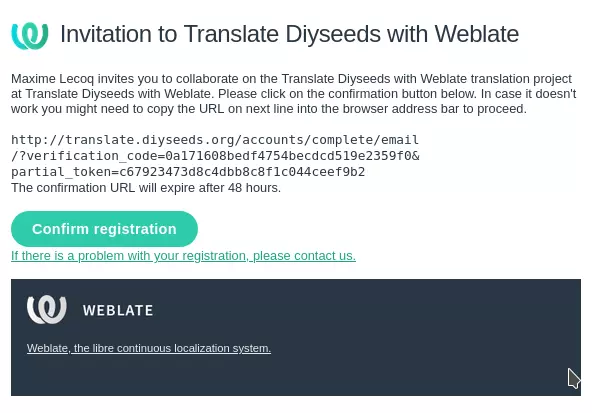
To be able to translate you need an account. If you did not already, contact us to query the creation of your account. Once it is done, check your mailbox: you should have received an invitation email. Click on the button „Confirm registration“ or copy/paste the link into your web browser to confirm your account on the platform.
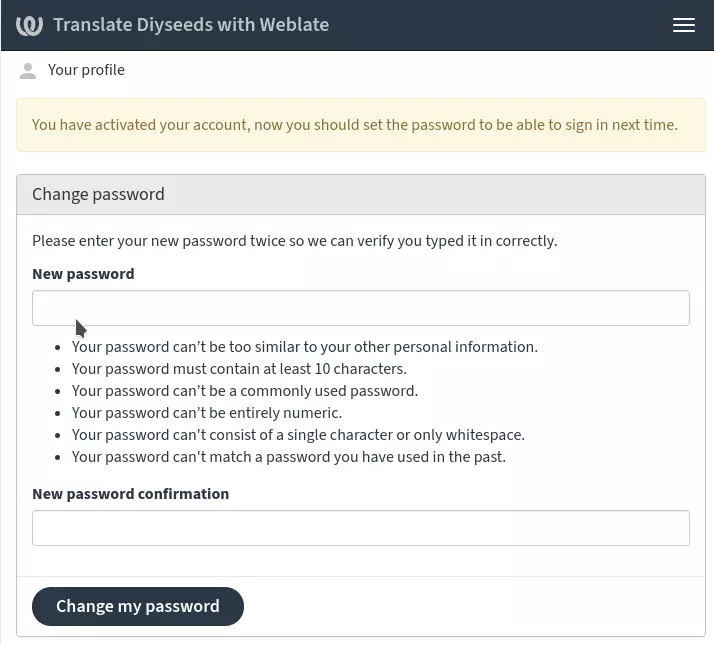
Pick a password
You will be asked to pick a password. Choose a strong one that follows the rules and don’t forget it as it will allow you to connect to the platform next time.
Select your languages
In your „Languages“ profile settings, select in the top-down list the language you want the platform to be displayed in. Just below, select the languages you can translate to. This will help you to find your translations faster.
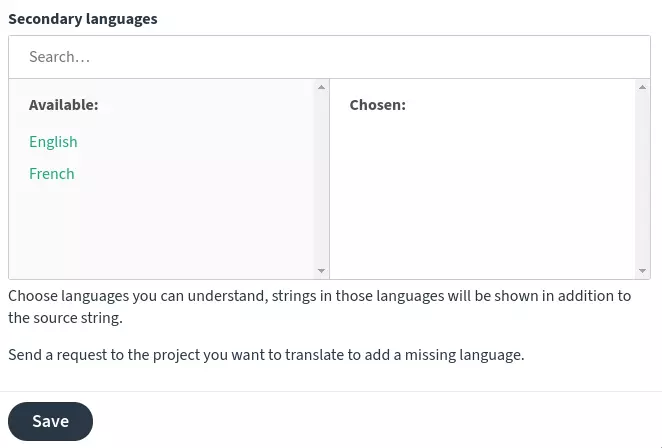
Select your secondary languages
In your „Languages“ profile settings, select the secondary languages you can read. Translations in these languages will also be displayed when translating. This is very useful so if you can read several languages you should enable them. Click „save“.
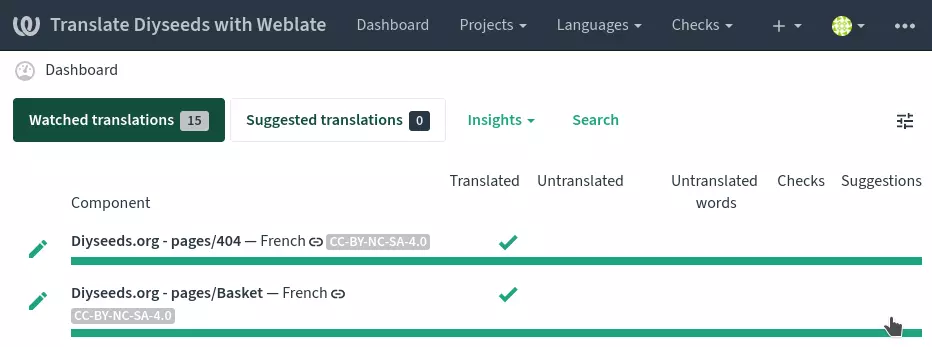
Use the Dashboard
Click on the „Dashboard“ menu to get a quick access to your translations. It will list every component you are working on. You can click one to begin the translation process.
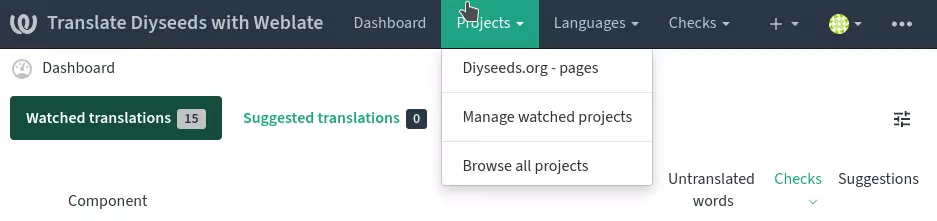
Open a project
Alternatively the „Projects“ menu will show you every projects you are in. Click one to see all the components it contains.
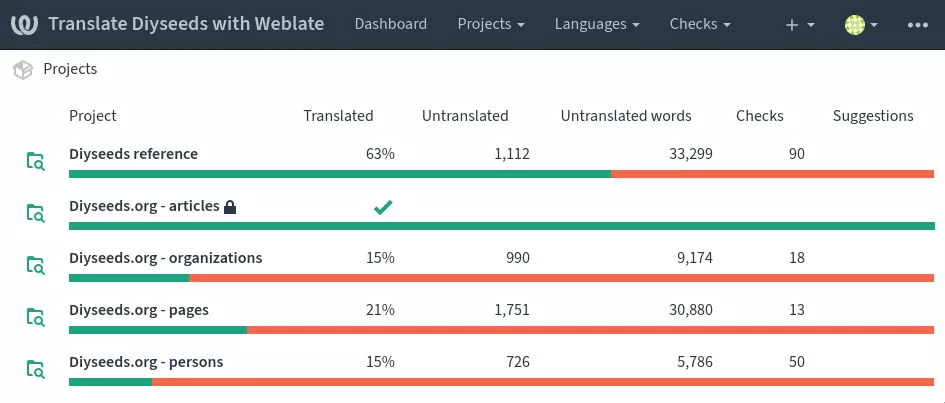
Browse all projects
If you click on „Browse all projects“ in the „Projects“ menu you will see something like this. Click onto a project to open it.
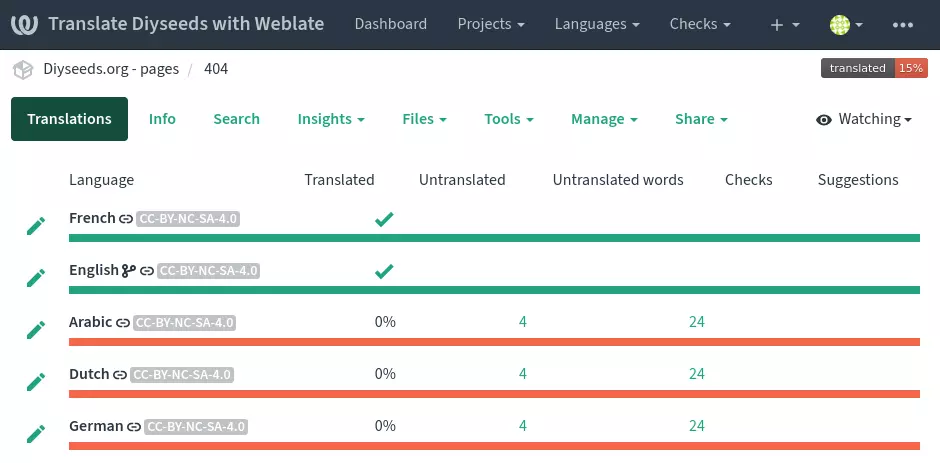
Open a component
When you open a component inside a project, you will see a list of languages that you can translate the component into. Click on the language you want to translate into.
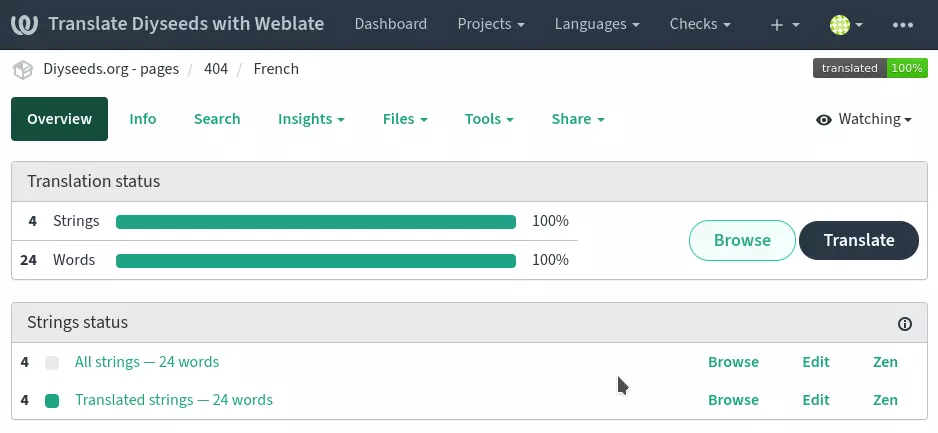
Open a language to start translating
Once you have opened the language you want to translate into, click on the „Translate“ button to start translating. The „Browse“ button will show you all the strings to translate.
Translate a string
Once you started translating, write the translation into your language text field and click „save“: the next string to be translated will show up. Like on this image, sometime a „context“ (at right) and a „comment“ (next to „English“) is also provided to help you.
Translate with secondary languages
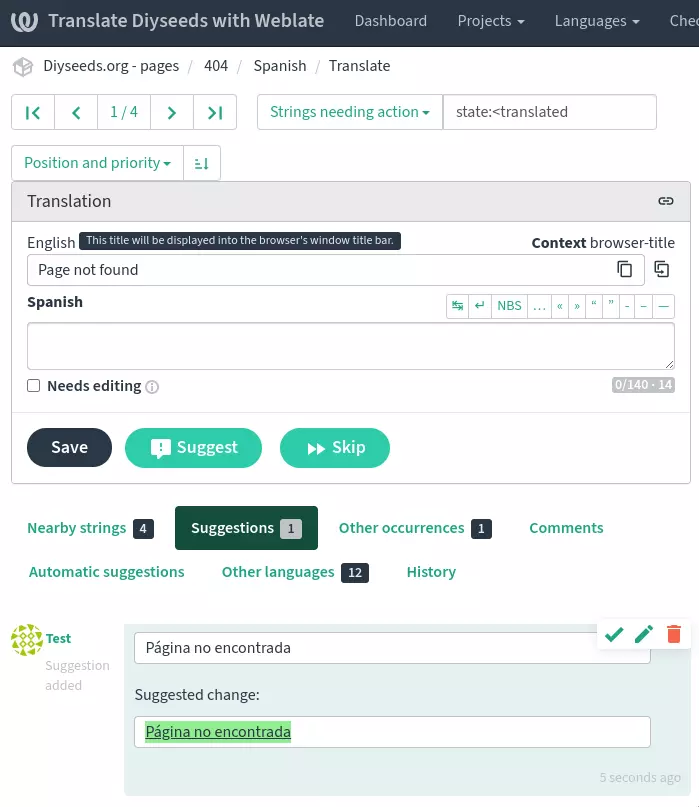
If you have set some secondary languages and if they provide a translation, these translations will also be displayed on top of the „English“ text to help you (like here with „Spanish“).
Suggest instead of translate
Instead of translate a string you can suggest a translation. Click on the button „Suggest“ instead of the button „Save“. This suggestion will be displayed in the „Suggestions“ tab below the translation area. Other translators will be able to see, validate or reject it. Suggestions can be used in addition to comments.
Collaborate using comments
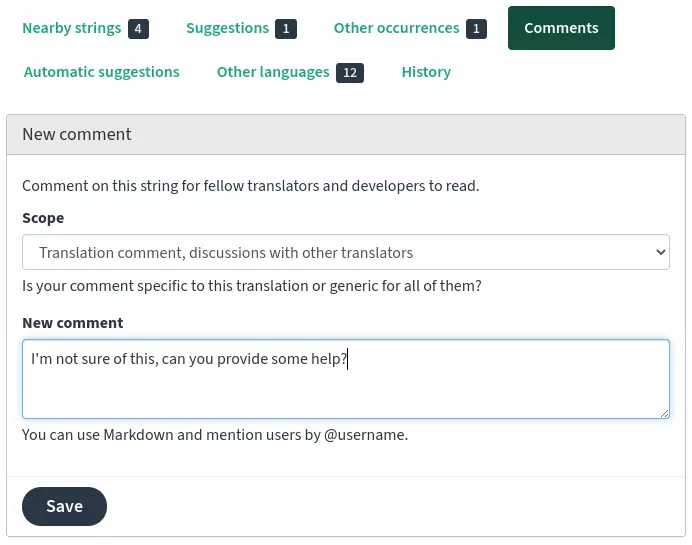
In the „Comment“ tab below the translation area, you can post a comment to start a discussion with other translators about the string to translate. Comments can be used in addition to suggestions. Include „@admin“ will notify the administrator of the platform about you comment. You can also notify other translators using @jsmith to notify e.g John Smith (use the first letter of the first name followed by the last name).The saved comment will appear at the same place.
Report errors on source strings
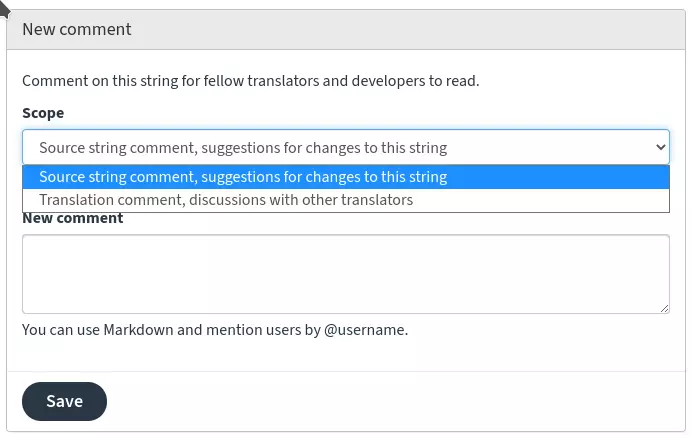
If you notice an error in a source string or want to suggest a modification, you can submit a comment using the appropriate scope (see the previous section about comments). Like on the image below, select the option „Source string comment, suggestions for changes to this string“, write your comment and click „save“. The translators in charge of the source string will be notified and they would engage a discussion with you. Thank you.
Translate faster using the „Zen“ mode
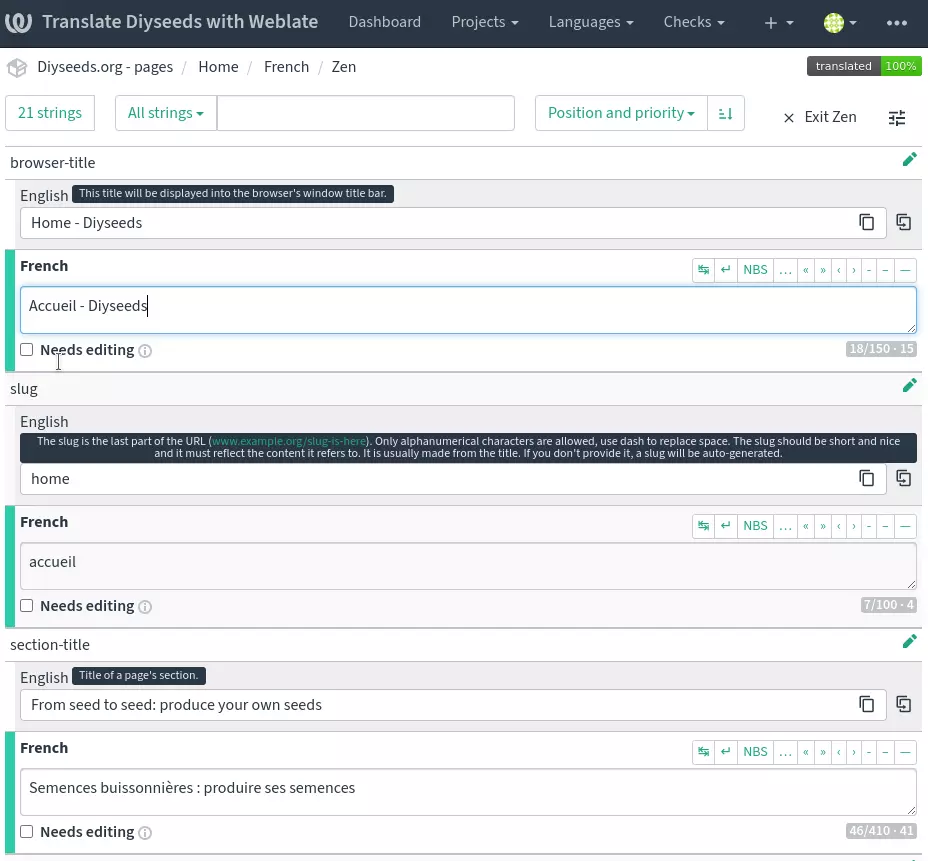
Click on the „Zen“ button to enter the Zen mode.The Zen mode will show you all the strings to translate on a single page so you can translate faster. Strings will be automatically saved once you have edited them. Enjoy!